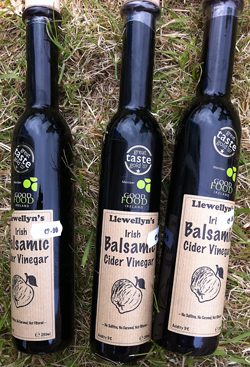
 One of the nicest food products I’ve come across this year is a Balsamic Cider Vinegar, made from apples by Llewellyn’s. It’s a product that everyone should have in their kitchen, because the apple flavour comes through nicely, and it’s beautiful on strawberries or in a salad.
We’ve had it in our shops over the summer, and since we’re reaching the end of our stocks now, I thought I’d post a recipe for anyone who hasn’t been able to taste it.
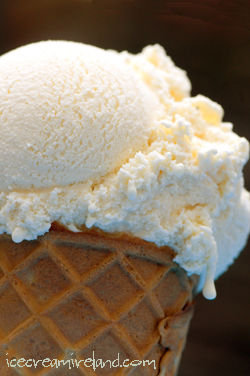
It’s not been the most popular ice cream we ever made, but I really love it, and I think it makes a great match for a caramel pudding or strawberries. The acidity of the vinegar cuts the sweetness, and it has a rich, mysterious flavour.
Murphys Balsamic Ice Cream
- 50 ml balsamic vinegar
- 130g + 2 tablespoons sugar
- 5 egg yolks
- 240 ml cream
- 200 ml milk
What to do:
- In a small saucepan, warm the balsamic and 2 tablespoons of the sugar until the sugar is dissolved.
- Remove from the heat and allow to cool.
- Beat remaining sugar and egg yolks together until pale yellow.
- Bring the milk to a low simmer.
- Remove from the heat and beat the milk into the egg and sugar mixture in a slow stream.
- Pour the mixture back into the pan and place over low heat.
- Stir continuously until the custard thickens slightly (around 65-70C) and just coats the back of a spoon. Don’t over-heat, though, because at around 76C you will scramble the eggs!
- Immediately remove from the heat.
- Stir in the balsamic and sugar mixture.
- Whip the cream until it has doubled in volume (you should have soft peaks – don’t over-whip).
- Fold the cream (gently stir) into the custard.
- Freeze using a domestic ice cream machine, or cover and place in the freezer, stirring every few hours to break up the ice crystals.
- If you’re using a domestic ice cream machine, transfer to a freezer-proof covered container when the ice cream has achieved a semi-solid consistency (around 15 minutes). Place it in the freezer, and continue to freeze until it is solid.
Notes:
- If you use a different vinegar, you might need slightly more or less, depending on the strength of the flavour.
- To pasteurise the eggs, heat the custard to 73C and maintain that temperature for at least 5 minutes. Use a cooking thermometer, though, and keep stirring! If the custard goes any higher than 76C, the eggs will scramble. Immediately cover and place in the freezer until cool.
Technorati tags: balsamic, vinegar, apple, ice cream, recipe

